If you've pulled three shots in a row and still can't tell if it's the grind, the dose, or the tamp that's off, you're not alone. Most home baristas stall out on the factory default settings or chase YouTube advice written for a different machine with different beans, and the result is either a thin, sour cup or a muddy, bitter one with no idea which dial to turn. The Breville Barista Express BES870XL has a built-in conical burr grinder that gives you one integrated loop to adjust, which means you can isolate variables and fix shots without owning two separate machines.
I've been through this dialing-in process more times than I'd like to count, every time I switch bean origins or switch from a light roast to a medium. The good news is that once you understand the five variables and the order in which to adjust them, the whole thing clicks fast. This guide walks you through each step in sequence so you're not chasing your tail.
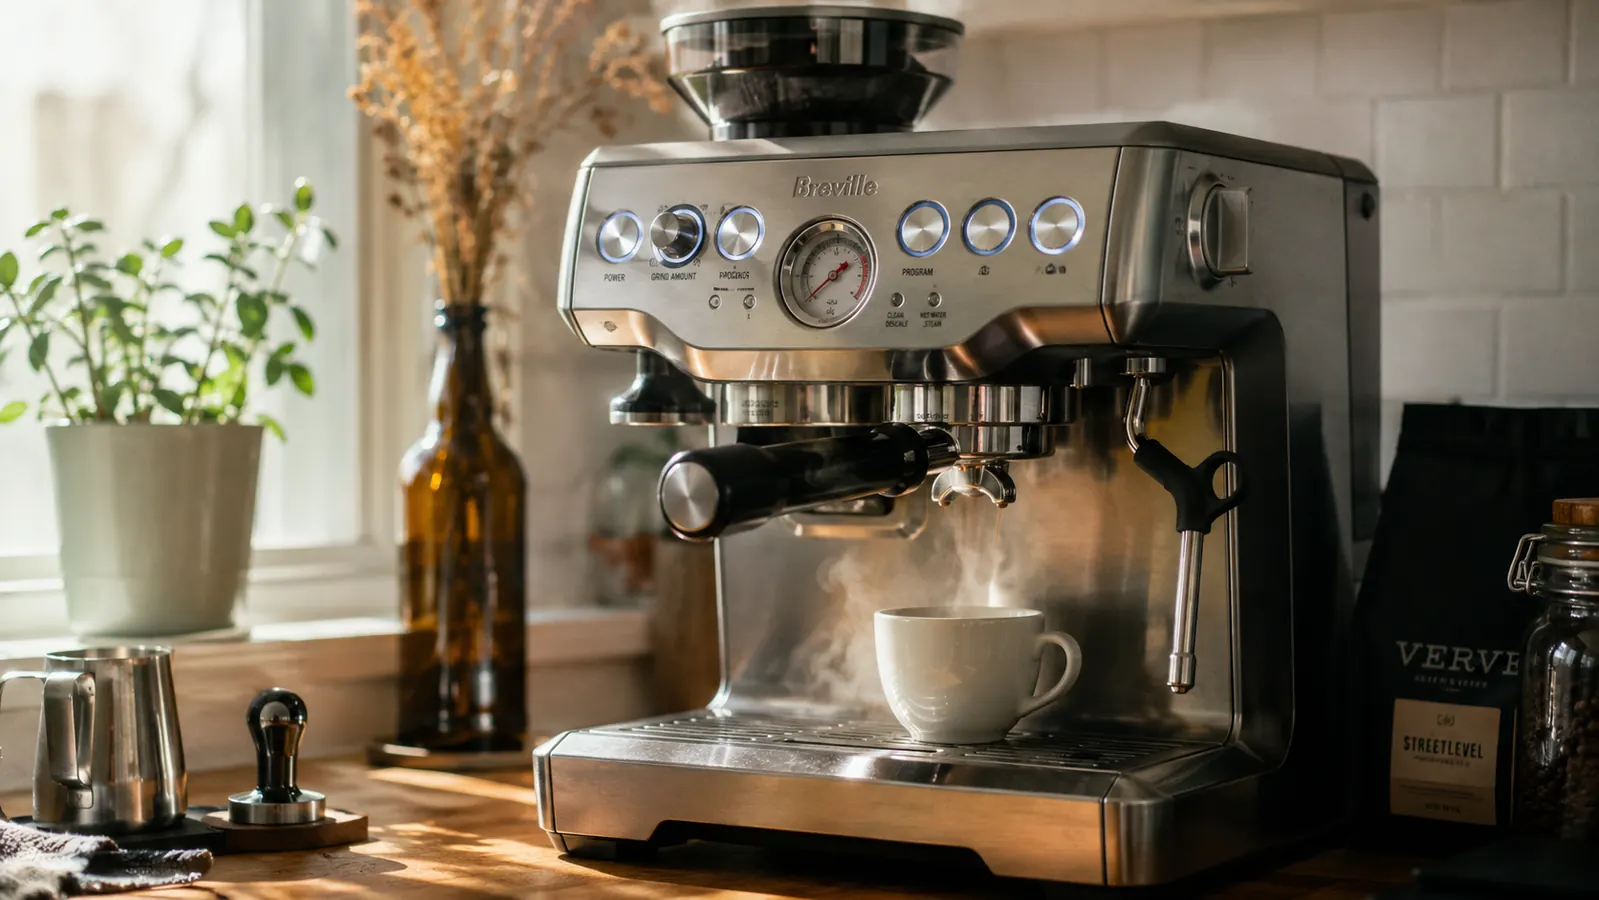
Still guessing at grind settings? The Barista Express puts adjustment and extraction in one machine.
The Breville Barista Express BES870XL pairs a 15-bar pump with a built-in conical burr grinder so your grind setting and extraction live in the same workflow. Rated 4.5 stars across more than 27,000 reviews. Check current pricing before you start your next session.
Amazon Check Today's Price on Amazon →Before You Start: What You'll Need
You don't need much beyond the machine itself. A kitchen scale that reads in grams is the single most useful add-on, a small one that sits under the portafilter while you dose. Without it, you're guessing your dose weight, and dose is the second variable you'll adjust. A tamper comes with the Barista Express but the included one is plastic and wobbles. A flat-based metal tamper sized to 54mm makes a real difference in consistency. And you need a timer, your phone works fine. That's the complete toolkit.
One more thing before step one: use fresh beans. Espresso exposed to air for more than three or four weeks will under-extract no matter what grind setting you use. If your shots taste sour and flat, stale beans are the first thing to rule out. Dial in on fresh, in-date coffee and the rest of this becomes much easier.
Step 1: Set Your Starting Grind Size
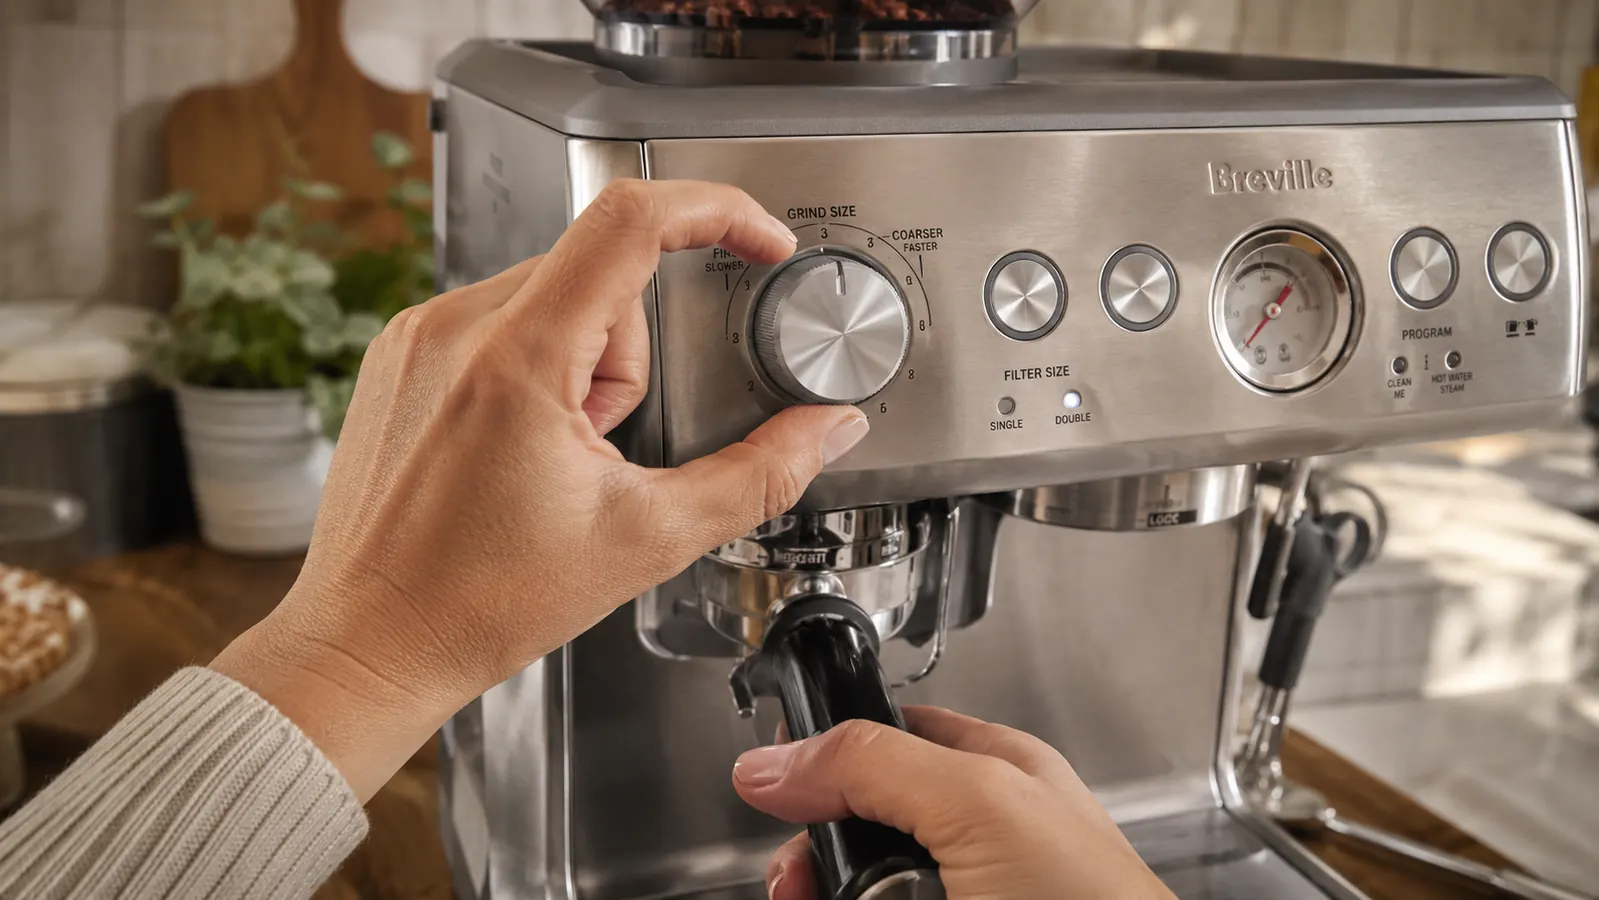
The Barista Express grind dial runs from 1 (finest) to 16 (coarsest), with the factory setting around 5. For medium-roast beans, start between 4 and 6. For darker roasts, start coarser, around 6 to 8, because dark roasts are physically more brittle and grind finer at the same dial setting than lighter beans. For lighter roasts, go finer, around 2 to 4. Write down your starting number. This is your anchor and you'll move one step at a time from here.
Adjust the grind dial only while the grinder is running. The Barista Express manual says this and it matters: adjusting while the burrs are static can jam the mechanism. Press and hold the grind button, then rotate the dial one notch, then release. You should hear the grind note change slightly. After any grind adjustment, run the grinder for three to five seconds before dosing into your portafilter to clear out coffee ground to the old setting.
Step 2: Dial In Your Dose
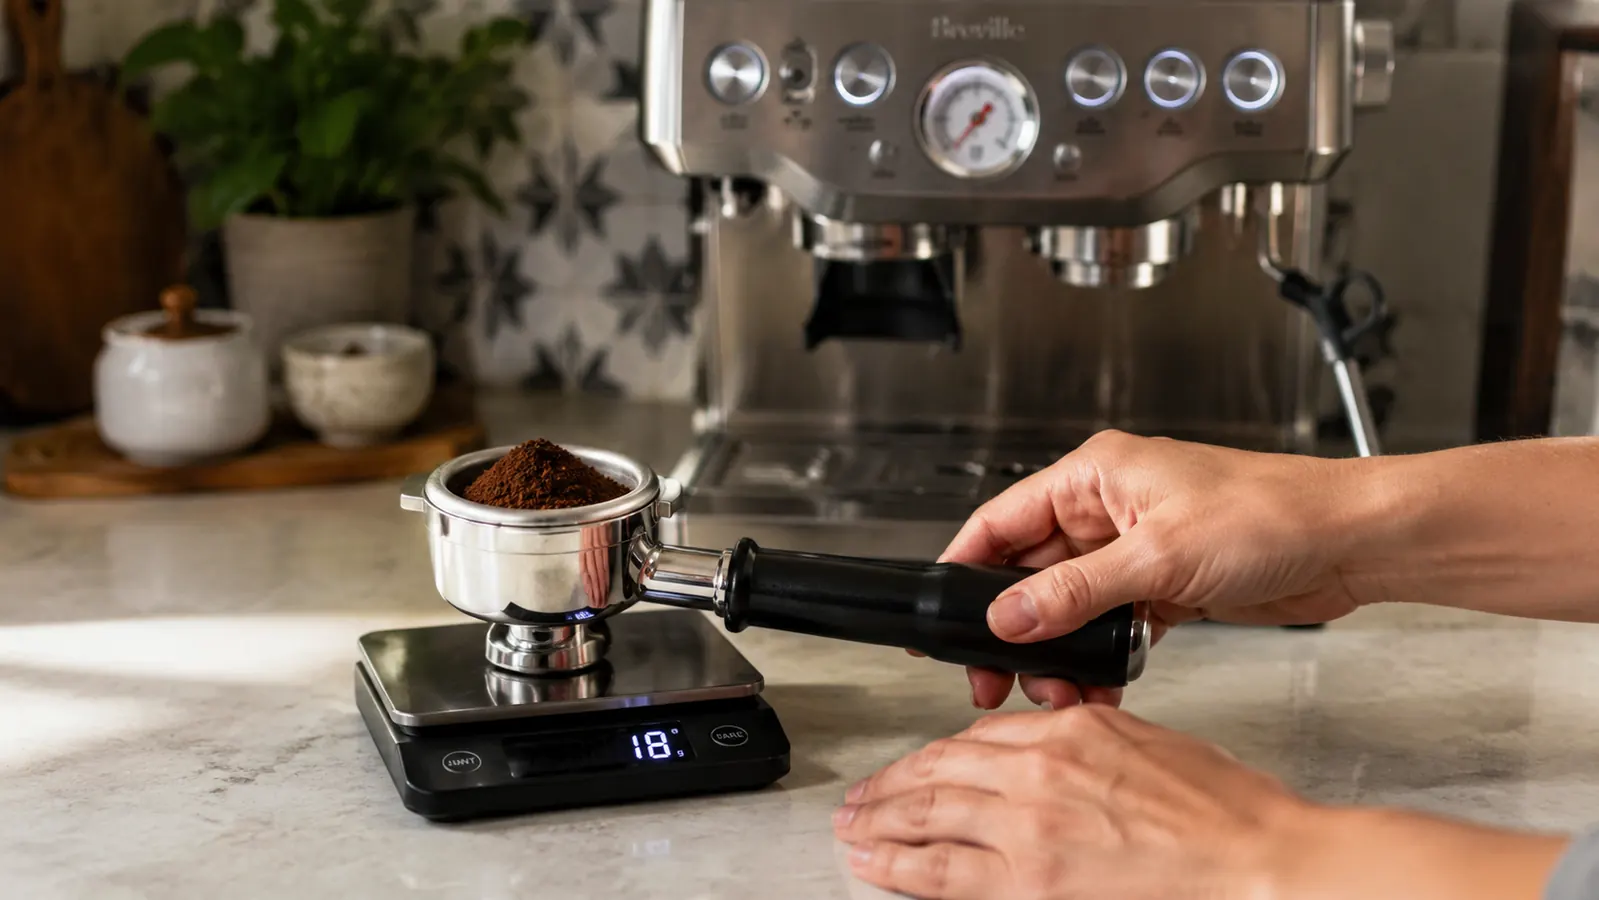
The Barista Express 54mm portafilter basket is sized for a double shot. A standard dose is 18 grams of ground coffee, though some prefer 17 to 19 depending on their basket and preference. Set your scale under the portafilter and grind until the display reads your target dose. If the grinder is over-dosing or under-dosing, adjust the grind amount button on the machine panel, not the grind size dial. These are two separate controls. Grind amount controls how much coffee falls. Grind size controls how coarse or fine it's ground.
Be consistent. Pull a few shots at the same dose before changing anything else. Inconsistency in dose will make grind size and tamp changes impossible to evaluate because you're never holding the other variables steady. Measure every shot during the dialing-in session. Once you've landed, you can dial it by feel.
Step 3: Tamp Evenly and with Consistent Pressure
Tamp pressure is often over-complicated online. The goal is not a specific number of pounds, it's an even, level puck with no air channels. Use your wrist and body weight rather than your elbow. Place the portafilter on a flat surface, position your tamper, and press straight down with your arm nearly vertical. Apply enough pressure that the coffee bed doesn't shift when you twist the tamper slightly to polish. That's enough. The surface should be smooth and flat with no visible gaps or cracking on the edges.
Uneven tamps cause channeling, where water finds the path of least resistance through a weak spot in the puck and rushes through without extracting the surrounding grounds. A channeled shot often runs unevenly from the spouts, sometimes one side drips while the other streams. If you see this, fix your tamp before adjusting grind size. A bad tamp mimics an incorrect grind.
A channeled shot can look exactly like an over-extracted one. Fix your tamp before you touch the grind dial.
Step 4: Time Your Extraction and Read the Results
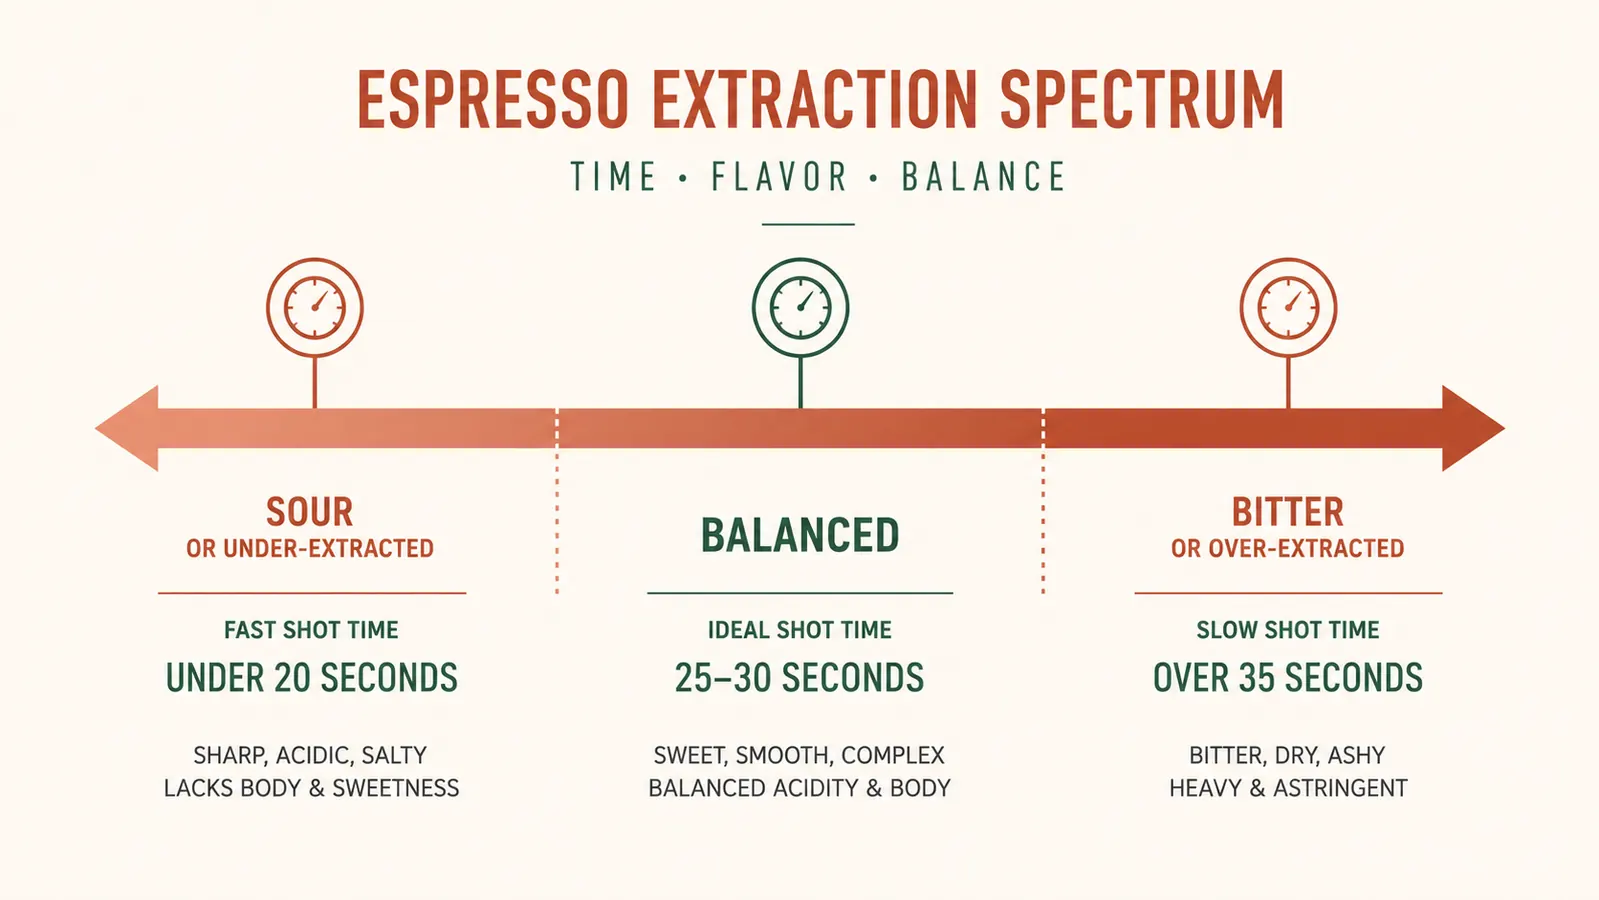
Lock the portafilter in, start your timer, and press the shot button. Watch when the espresso first appears at the spout tip, then stop your timer when the shot volume reaches about 36 to 40 grams of liquid in the cup for a double. A properly extracted double shot should run 25 to 30 seconds from the moment you press the button. The espresso should drip slowly at first, build into a steady stream, and produce a reddish-brown crema with some tiger striping in the cup.
If your shot runs in under 20 seconds, it's under-extracted. The grind is too coarse. Move the dial one notch finer and pull again. If it runs beyond 35 seconds or barely drips out, the grind is too fine. Move one notch coarser. The key word is one notch. One adjustment at a time. The Barista Express dial is sensitive and a two-notch jump in either direction can overcorrect. Taste the shot. Sour or sharp means under-extracted. Dry, bitter, or hollow at the finish means over-extracted. Balanced means sweet, round, with some brightness and a clean finish.
Step 5: Texture Your Milk for Lattes and Cappuccinos
The Barista Express uses a single-hole steam wand and a thermocoil boiler, which means you have to allow a short purge and preheat after pulling your shot before steaming milk. Press the steam button, wait for the temperature light to stop flashing, then purge a quick burst from the wand with a cloth to clear condensation. Use cold whole milk in a cold stainless pitcher, around 150ml for a single latte. The cold milk and cold pitcher give you more time before the milk overheats.
Submerge the wand tip just below the milk surface at a slight angle to create a gentle vortex in the pitcher. In the first five seconds, lower the pitcher slightly to introduce air and hear a faint hissing paper-tearing sound. Then raise the pitcher to submerge the tip deeper and stop introducing air. Let the vortex spin and heat the milk to around 140 to 150 degrees Fahrenheit. No thermometer needed after a few sessions: that temperature is just too hot to hold the pitcher comfortably. Stop before scalding. Tap the pitcher on the counter twice to pop any large bubbles, then swirl and pour. Properly textured milk should look glossy and pourable, not foamy and stiff.
What Else Helps
A few things outside the five-step process that make a real difference. First, run a blank shot of hot water through the group head before your first shot each morning. The Barista Express has a hot water button for this. It brings the group head and portafilter up to temperature so your first shot of the day isn't pulling through a cold metal path. Second, keep the steam wand clean after every use. Wipe it immediately with a damp cloth and purge a short burst. Milk residue inside the wand builds up fast and affects steam quality within a few days. Third, backflush the machine with a cleaning tablet every one to two weeks. The Barista Express has a cleaning cycle built in and the manual walks through it clearly. Neglecting backflushing leads to bitter, rancid-tasting shots that no amount of grind adjustment will fix. For a deeper look at long-term maintenance and what wears down after 18 months of daily use, the full Barista Express long-term review covers all of it. And if you're trying to decide between this machine and the Gaggia Classic Pro, the side-by-side comparison breaks down where each machine wins.
Run hot water through the group head every morning. Your first shot of the day should not be pulling through cold metal.
You now know exactly what to change. The Barista Express gives you a grinder and machine built to dial in together.
The Breville Barista Express BES870XL handles grind, dose, and extraction in one unit so you're adjusting a closed loop instead of two separate machines. Over 27,000 reviews on Amazon. Check today's price.
Amazon Check Today's Price on Amazon →